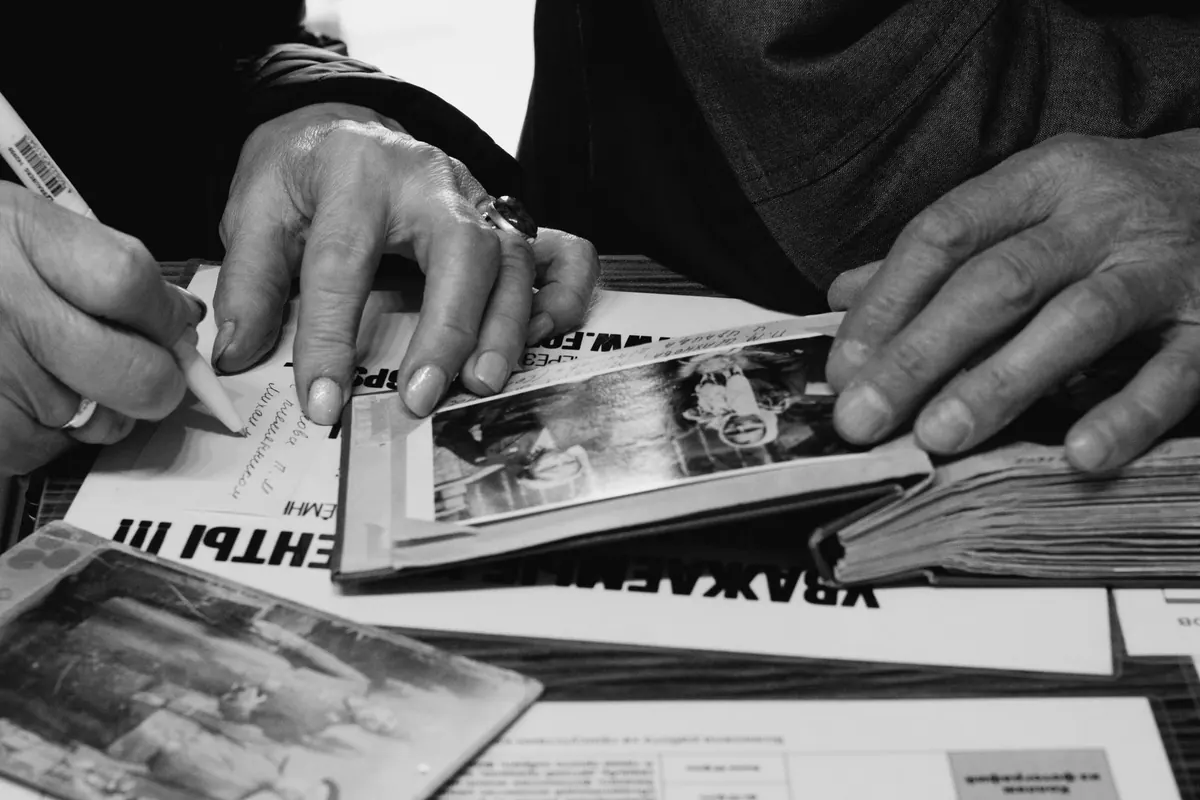
Somewhere in most homes there is a shoebox, a carrier bag or a bulging album holding the only surviving pictures of grandparents, weddings, streets that have since been demolished. The photographs have already survived decades. What usually finishes them off is the last twenty years of well-intentioned storage: a sunny shelf, a damp loft, a strip of sticky tape with a name written on it. The good news is that most of the damage is preventable, and the fixes are cheap.
Light is the slowest thief
Ultraviolet light breaks down the dyes and pigments in a photograph. It does not happen overnight. It happens over years, which is why people rarely notice until they compare an old print with a newer copy and find that the sky has gone pale and the faces have drifted towards yellow or magenta. Black-and-white prints fade too; silver images can yellow and lose depth in the highlights.
Direct sun through a window is the worst offender, but fluorescent tubes and unfiltered display lighting contribute as well. Heat from a lamp close to a framed print adds to the problem.
What to do instead:
- Frame copies, not originals, for anything you want on display for years.
- Hang pictures away from windows and radiators, and out of direct sunlight.
- If an original must be on the wall, use UV-filtering glazing and move it to a different spot every few months.
- Keep negatives and slides in boxes rather than in a carousel on a sunny shelf.
Humidity, heat and the rooms nobody thinks about
Lofts, cellars, garages, sheds and airing cupboards are all popular storage places and all bad ones. Attics swing between baking afternoons and freezing nights; cellars and garages hold damp. Photographic emulsions are layered materials, and each layer responds to moisture differently, so repeated swelling and shrinking causes curl, cracks and lifting edges.
High humidity also invites mould, which appears as grey or purple speckling and digests the gelatine binder as it grows. Very dry air brings its own trouble, making prints brittle and prone to cracking when handled. Aim for a stable, moderate environment rather than a perfect number: somewhere a person would be comfortable, with relative humidity kept in the middle range and temperature fairly even. Stability matters more than hitting an exact figure.
Store boxes off the floor and away from outside walls and pipes. If a room smells musty, it is not a home for photographs.
Tape and glue: the damage you can see coming
Sellotape, masking tape, parcel tape and most household glues are disastrous for paper and photographic prints. Over time the adhesive yellows, soaks into the paper, stains through to the front and becomes impossible to remove without taking fibres with it. Tape repairs also shrink and cockle, pulling the print out of shape. Writing a name on a scrap of tape and sticking it to the back is a small act that can cost a great deal.
Paperclips and rubber bands are almost as bad: clips rust, bands perish and stick to the surface, and both leave creases. If a photograph is torn, do not repair it yourself with sticky tape. Place it in a polyester or paper sleeve, keep the pieces together and flat, and note what happened. A conservator can often do a near-invisible repair with starch paste and Japanese tissue; tape removal is far harder than tape prevention.
Albums that do more harm than good
Many 1970s and 1980s albums used pages coated with adhesive, often under a sheet of PVC plastic. The adhesive dries out and holds on harder, and the plastic can give off gases that fade and discolour the prints. If photographs resist when you try to lift a corner, stop. Sliding a thin, blunt knife or a piece of stiff paper underneath, working slowly, is gentler than pulling; for anything valuable, get advice first.
Magnetic albums, sticky corners placed across the image, and cheap cardboard mounts that have gone brown and brittle are all worth replacing. Look for albums with acid-free, lignin-free pages, photo corners that touch only the margins, or plain polyester sleeves. Paper that has turned yellow-brown at the edges is acidic and will keep damaging whatever it touches.
Handling and labelling without leaving a mark
Clean, dry hands are fine for a quick look at a family print. For anything older or more fragile, nitrile gloves are a better choice than cotton ones, which can catch on an emulsion and drag fibres across the image. Hold prints by the edges, support them flat with both hands, and never bend one to look at the corner.
Label it properly
Names and dates matter as much as the image. Write on the back with a soft pencil along the edge, never over the middle, and never with biro or marker, which strikes through over time. Better still, write on an acid-free sleeve or a slip of paper kept behind the print, and record the details digitally as well.
The practical storage kit
You do not need a laboratory. A few items will do most of the work:
- Archival boxes with a rigid lid, sized so prints can lie flat or stand upright without slumping.
- Acid-free, lignin-free paper or tissue for interleaving and wrapping. For albumen prints and cyanotypes, unbuffered tissue is usually the safer choice.
- Polyester, polyethylene or polypropylene sleeves and pages. Avoid PVC.
- A cool, dark cupboard or wardrobe shelf, well away from radiators and windows.
- A pencil for labelling and a notebook or spreadsheet listing what is in each box.
Store large prints flat, in small stacks with interleaving, and smaller ones either flat or upright, supported so they cannot slide and bend. Do not overfill boxes; cramming causes abrasion every time the box is opened. Keep a set of the most important images digitised, with copies on two separate drives or in cloud storage, and check the files every couple of years to be sure they still open.
A ten-minute routine that keeps a collection safe
Choose a dry afternoon once a year. Take out each box, look for mould, insect damage, rusty clips or tape that has turned brown, and reseal anything that has come loose. Move boxes that have crept towards a window or a damp wall. Add names and dates you have discovered since last time. Keep the priority box — the one holding the pictures you would save first — somewhere easy to reach, and mention it to the people you live with.
If a photograph is valuable, unique, badly water-damaged or clearly mouldy, stop and photograph the situation before doing anything else, then seek advice from a conservator rather than experimenting. Everything else in this article is well within the reach of an afternoon, a pencil and a decent box.
Photo: Plato Terentev / Pexels